Process Prescription
The Process Prescription panel in LIATool allows you to define, manage, and simulate the illumination process for a selected domain. This includes specifying transformations (movement and rotation) of the domain, laser firing patterns, and repetition of defined instruction blocks. Below is a breakdown of the panel’s components and their functions.
Panel Overview

Overview of the Process Prescription panel.
Domain Selection: Choose the domain (surface mesh) where the illumination simulation will be performed.
Pivot Point: Specify the point around which transformations (movement and rotation) of the domain will be executed. This can be entered manually or automatically set to the center of the current selection using the native Blender selection tools.
Process Instructions: Add and configure individual rows of instructions defining transformations, laser firing patterns, and other parameters.
Repetition Controls: Define blocks of instructions to be repeated, specifying the start and end rows and the number of repetitions.
Execution and Simulation: Execute the defined instructions and simulate the illumination process.
Select the Domain
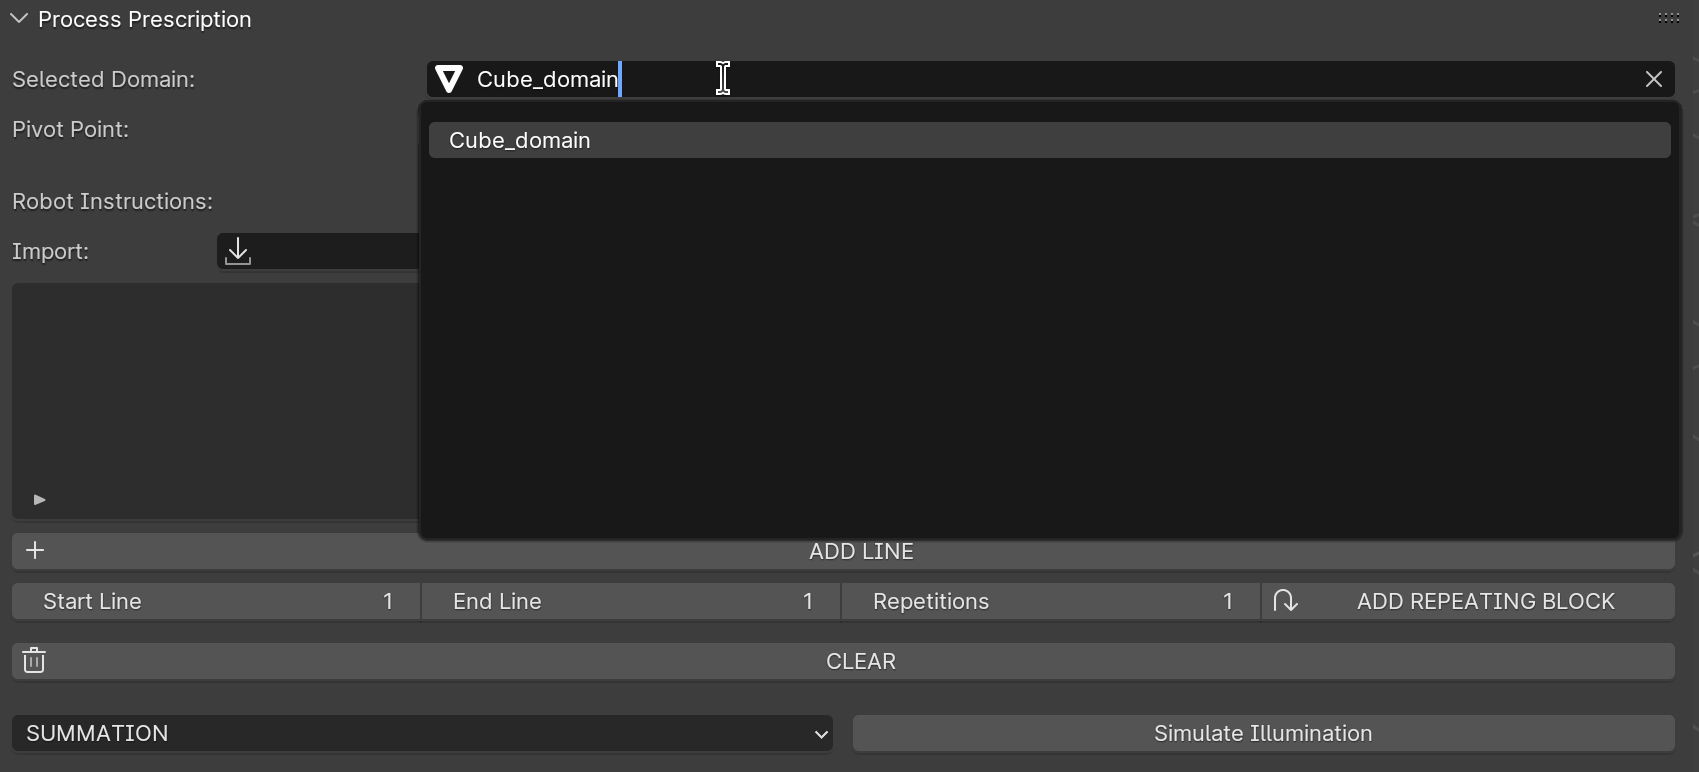
Selecting the domain for illumination simulation.
Select the surface mesh (domain) created in the Domain Generator section.
This domain is the area where the laser will interact and perform the illumination simulation.
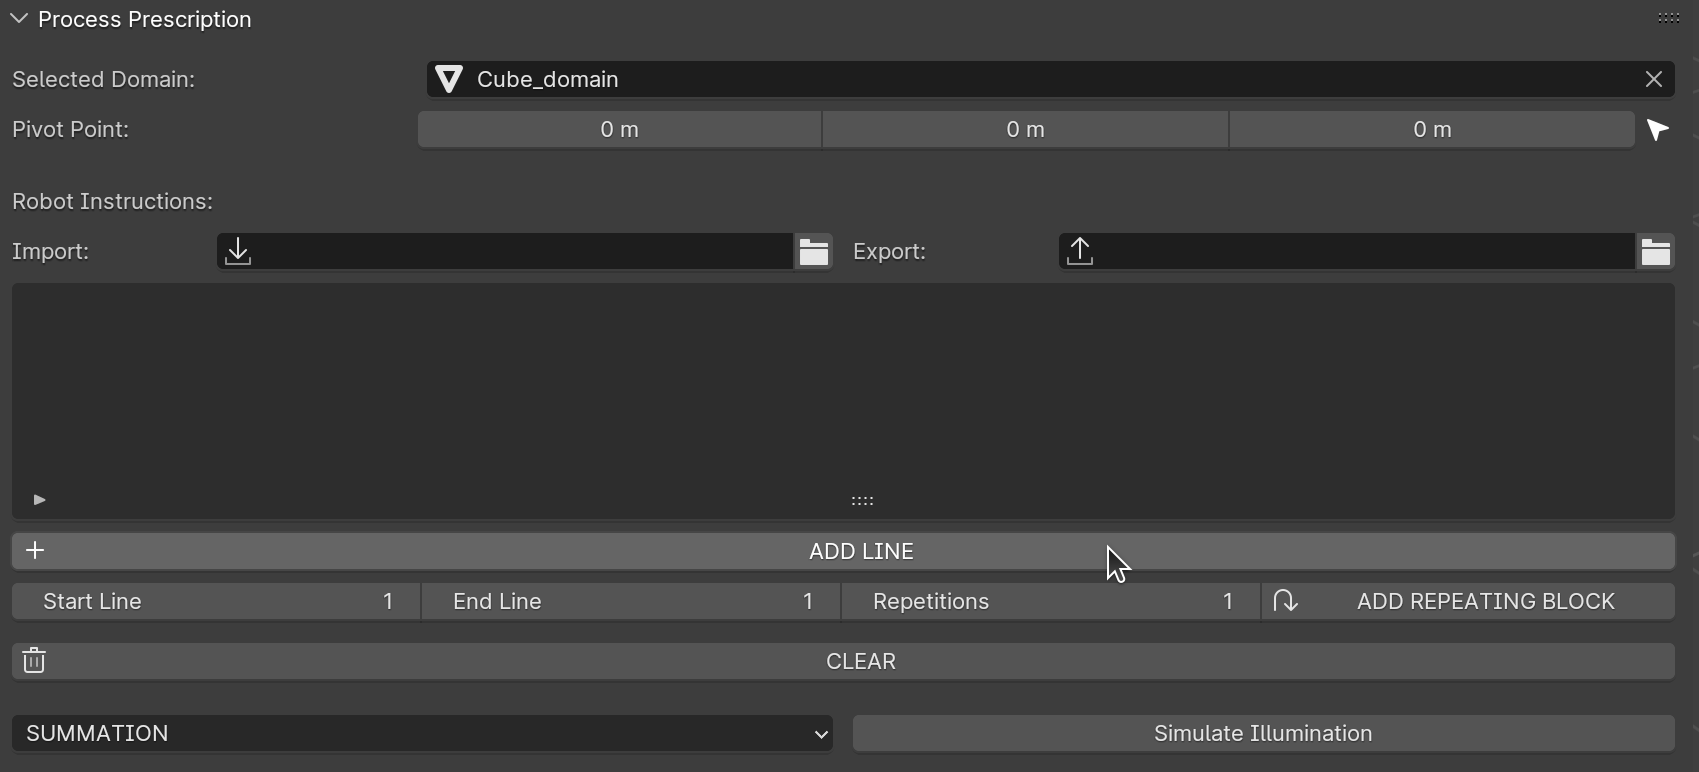
Define the Pivot Point

Defining the pivot point for domain transformations.
The pivot point is the reference point for all transformations of the domain.
You can define it in two ways:
Manual Entry: Enter the coordinates of the pivot point manually.
Automatic Selection: Use the arrow button in the panel to automatically set the pivot point to the center of the current selection. This is especially useful when selecting a flat surface using Blender’s native tools.
Add Process Instructions
Adding process instructions using the Add Line button.
Use the Add Line button to insert a new row for defining a transformation.
Each row represents one step in the illumination process.
Configure Transformations and Laser Parameters

Configuring transformation and laser parameters.
Parameters:
dx, dy, dz: Total displacement along the X, Y, and Z axes.
rx, ry, rz: Total rotation around the pivot point along the X, Y, and Z axes.
v: Speed of the transformation (distance or angle per second).
f: Laser firing frequency (shots per second).
Example:
A row specifies a movement of dy = 1 m, with a speed of 1 m/s and a firing frequency of 2 Hz.
Result: The laser fires three times — at the start, middle, and end of the path.
Add Non-Firing Movements
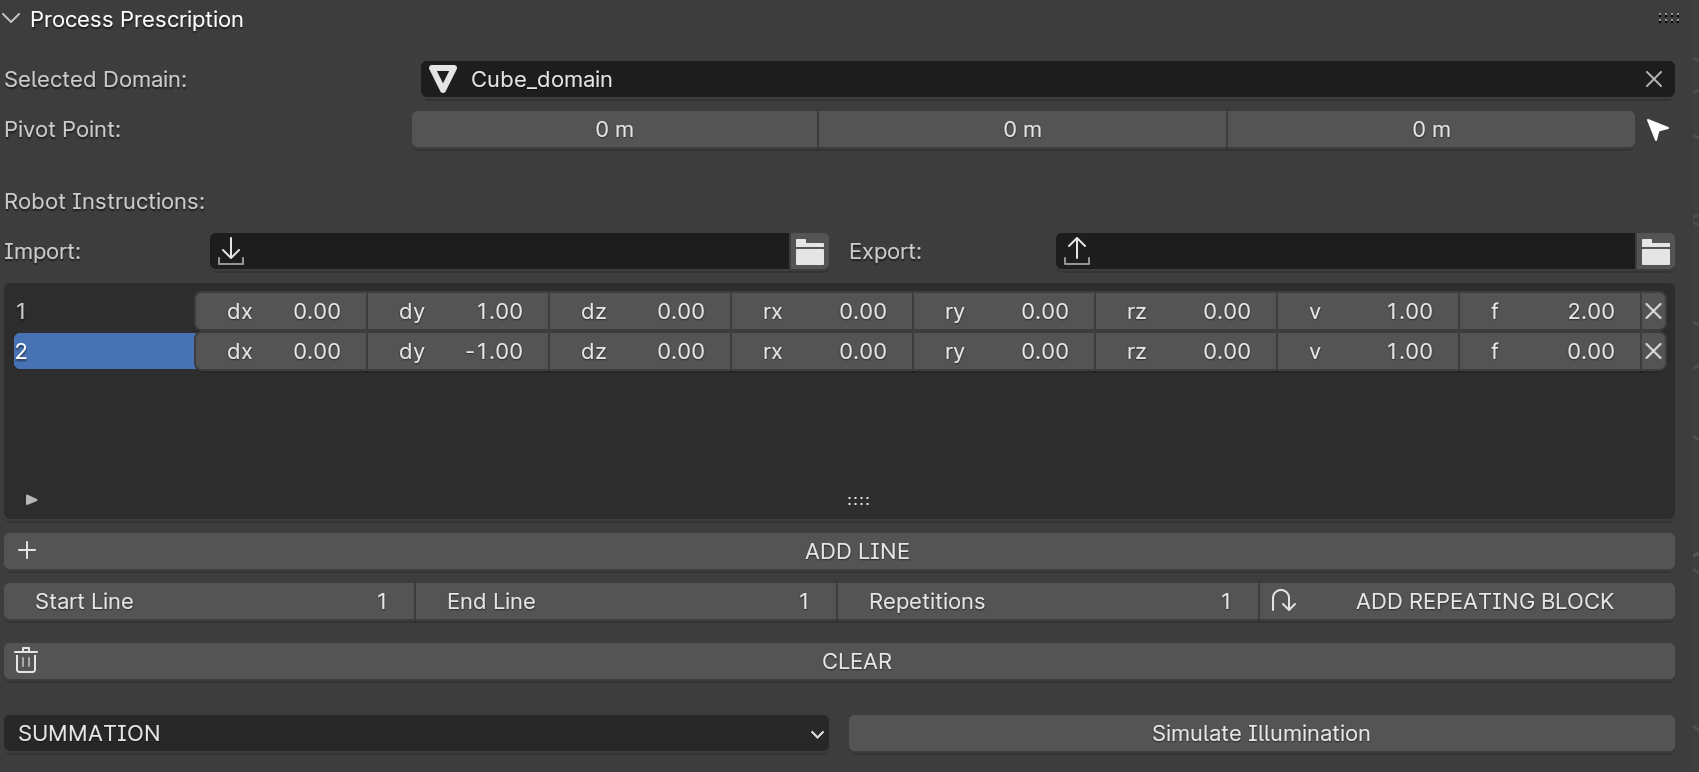
Adding a movement row with no firing.
To move the domain without firing the laser, set the frequency (f) to 0.
Example: dy = -1, f = 0 — moves the domain back to the starting position without any laser shots.
Position the Domain for Additional Rows
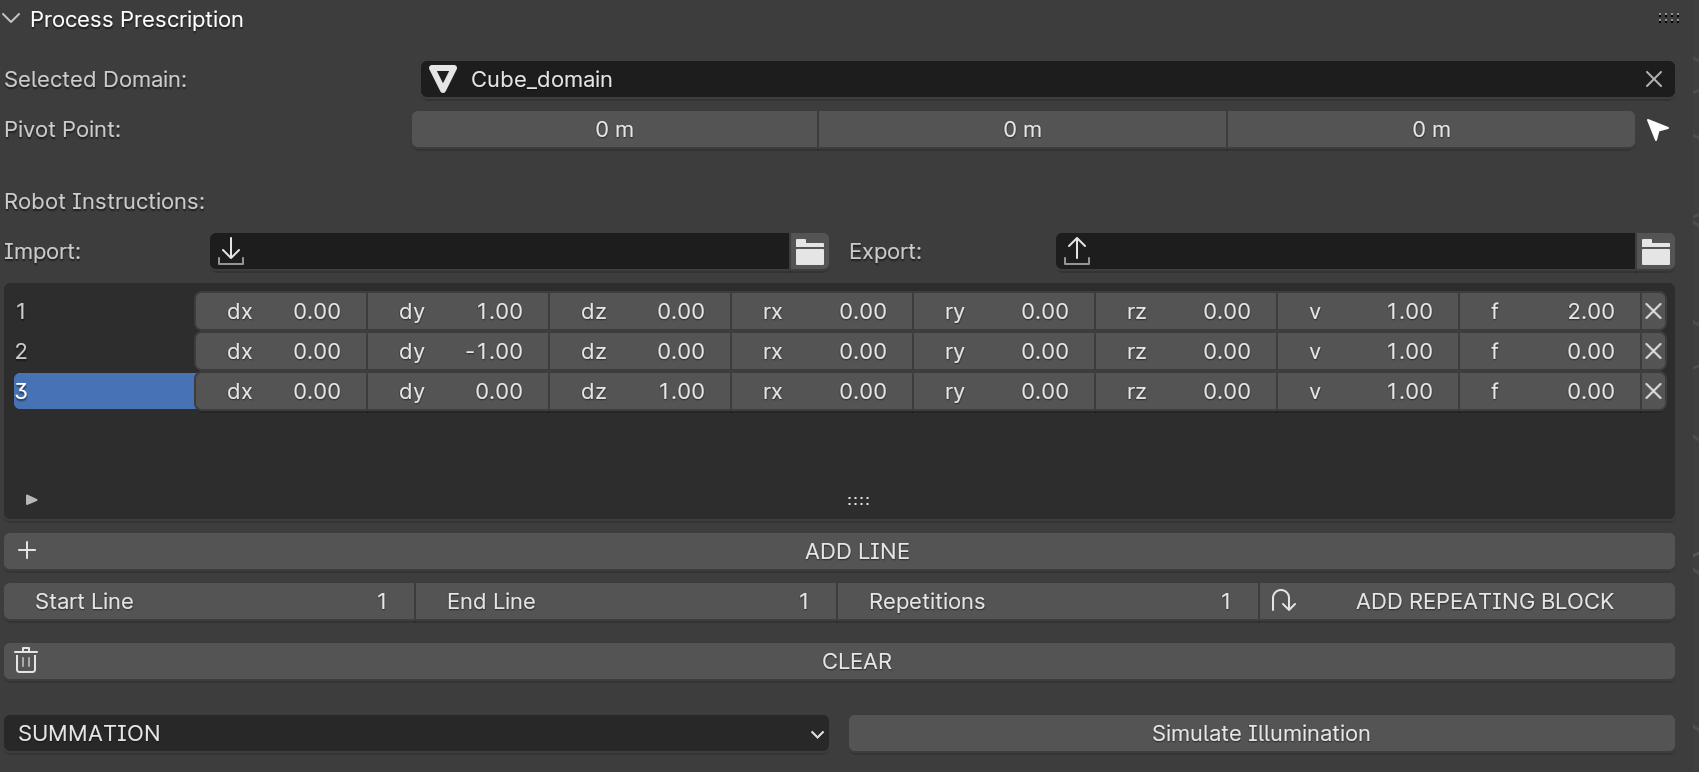
Adding a non-firing row to position the domain for the next pattern.
Add another row to reposition the domain for subsequent laser patterns (e.g., shifting the domain up or down for additional rows of spots).
Repeat Instruction Blocks
Configuring repetition of instructions using a for-loop.
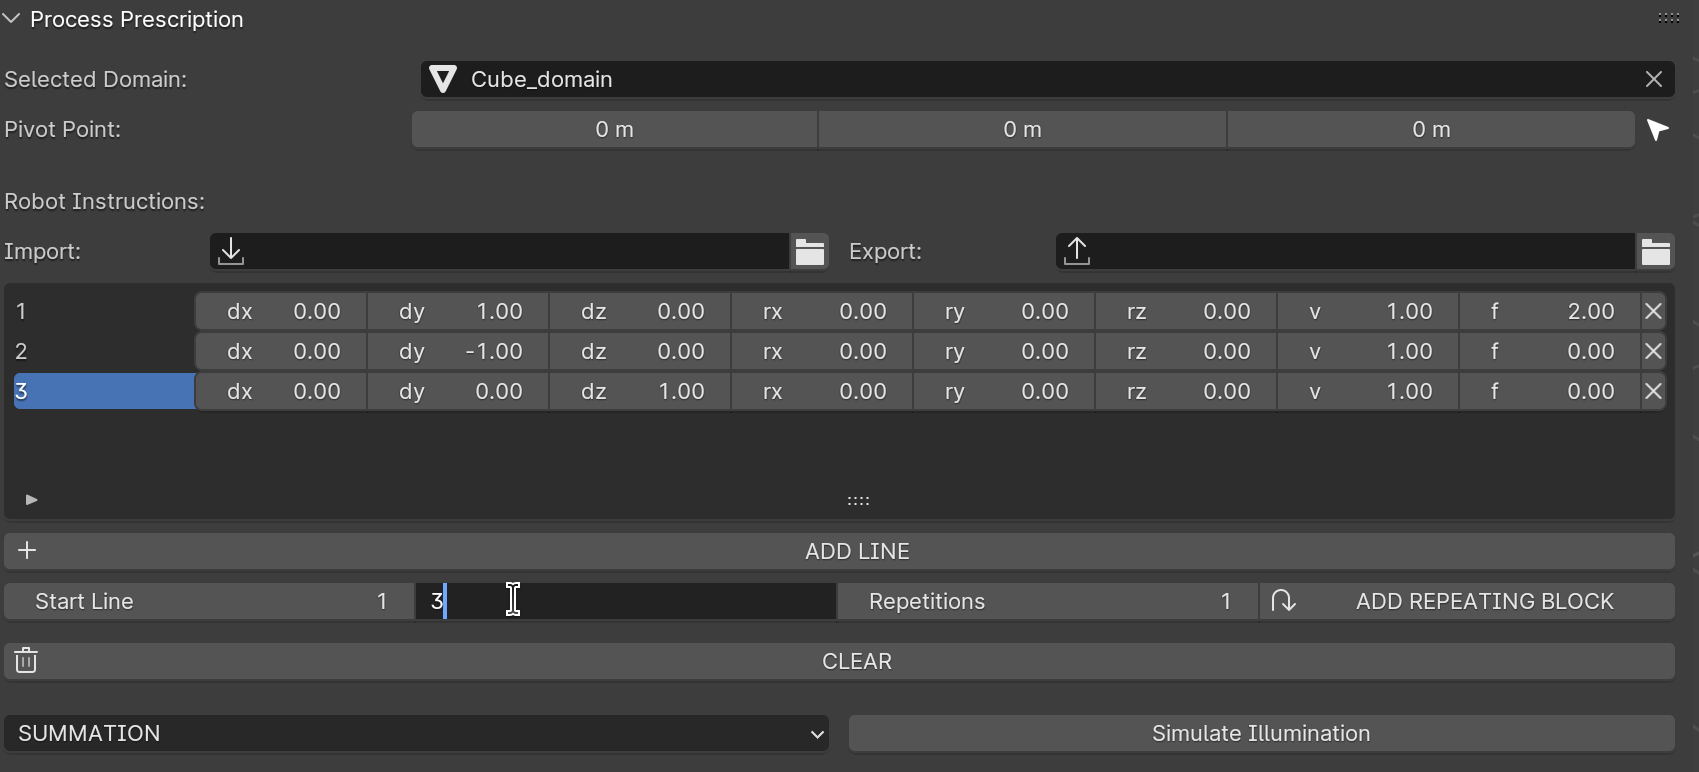
Use the Start Line and End Line parameters to define the range of rows to repeat.
Example: Repeat rows 1 to 3 multiple times.
Specify End Line
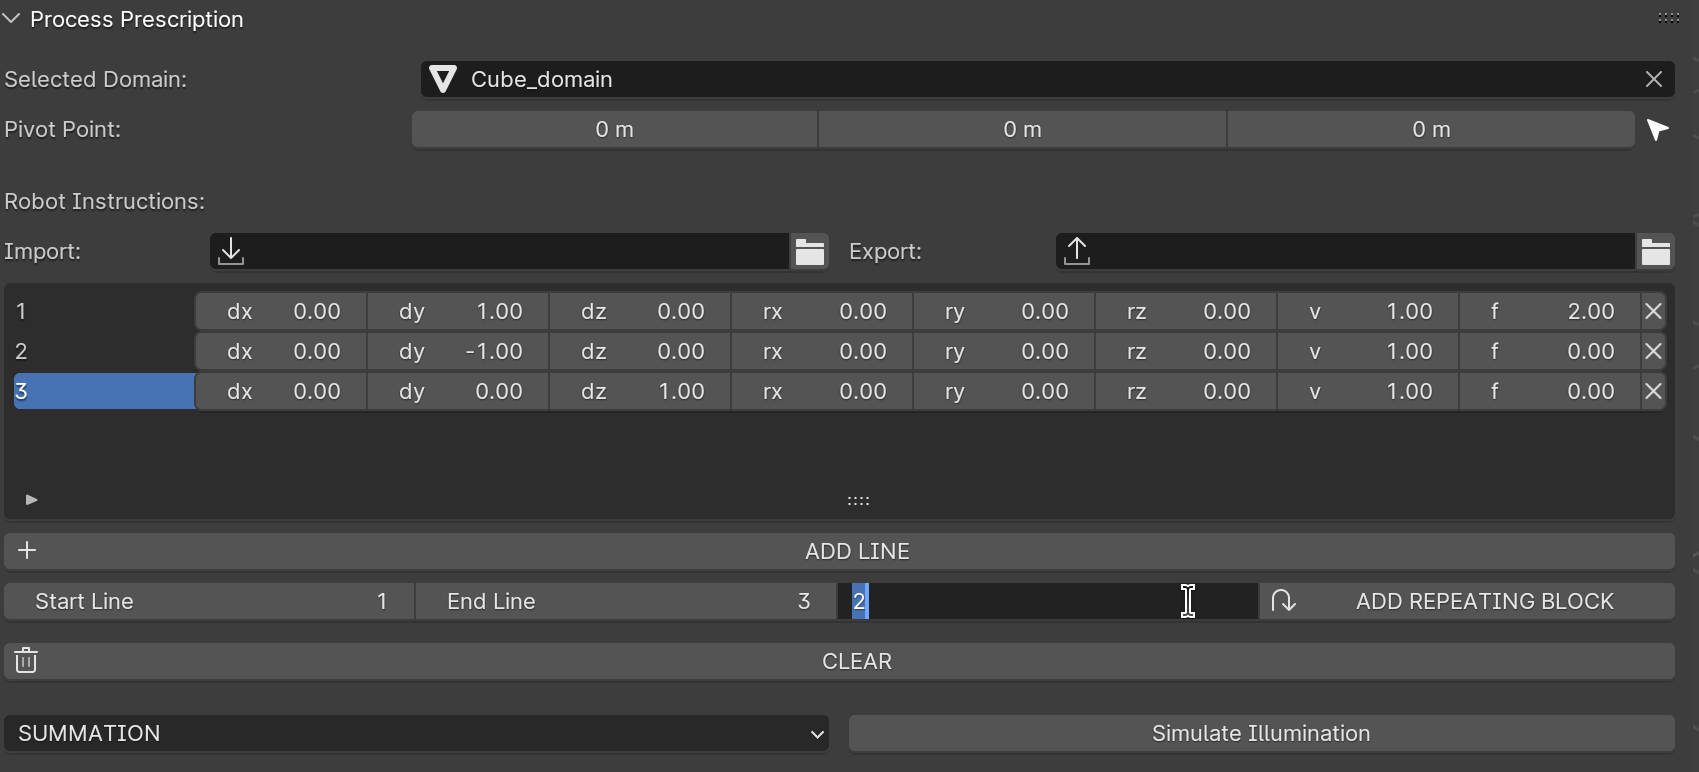
Setting the end line for the repetition block.
Set the End Line parameter to indicate the last row of the block to be repeated.
Confirm Repetitions
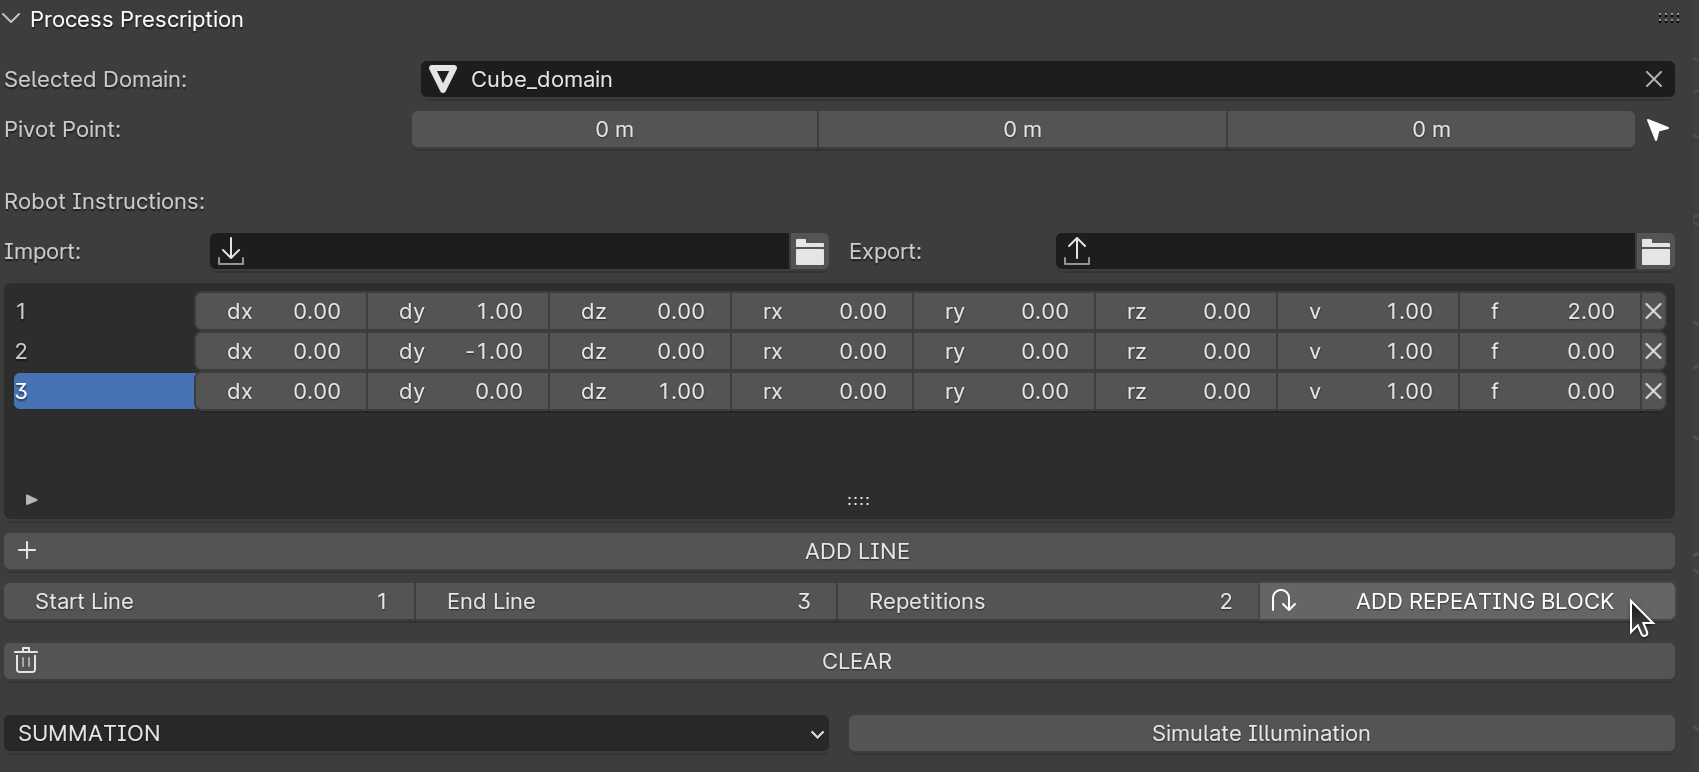
Confirming repetitions with Add Repetitions.
Click Add Repetitions to duplicate the defined block of rows.
Example: Repeating the block results in additional rows, as shown in the next figure.
View Repeated Rows
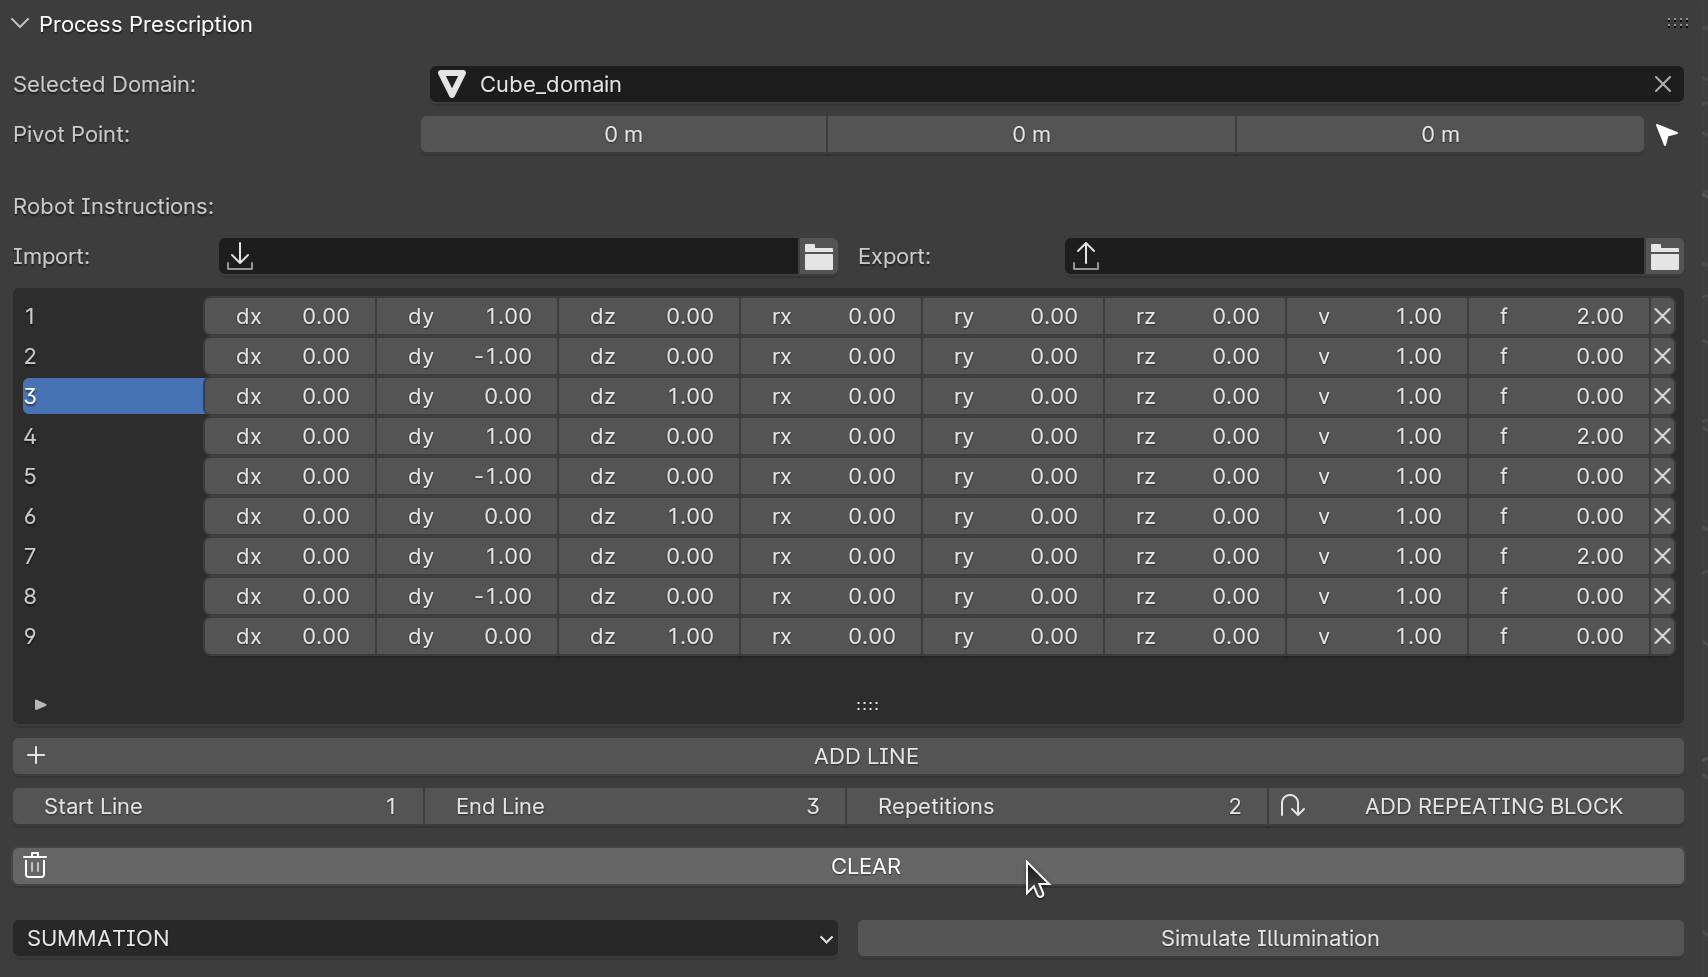
Viewing repeated rows and managing instructions.
The repeated rows are added to the instructions list.
You can:
Delete individual rows using the X button in each row.
Clear all rows using the delete button for the entire list.
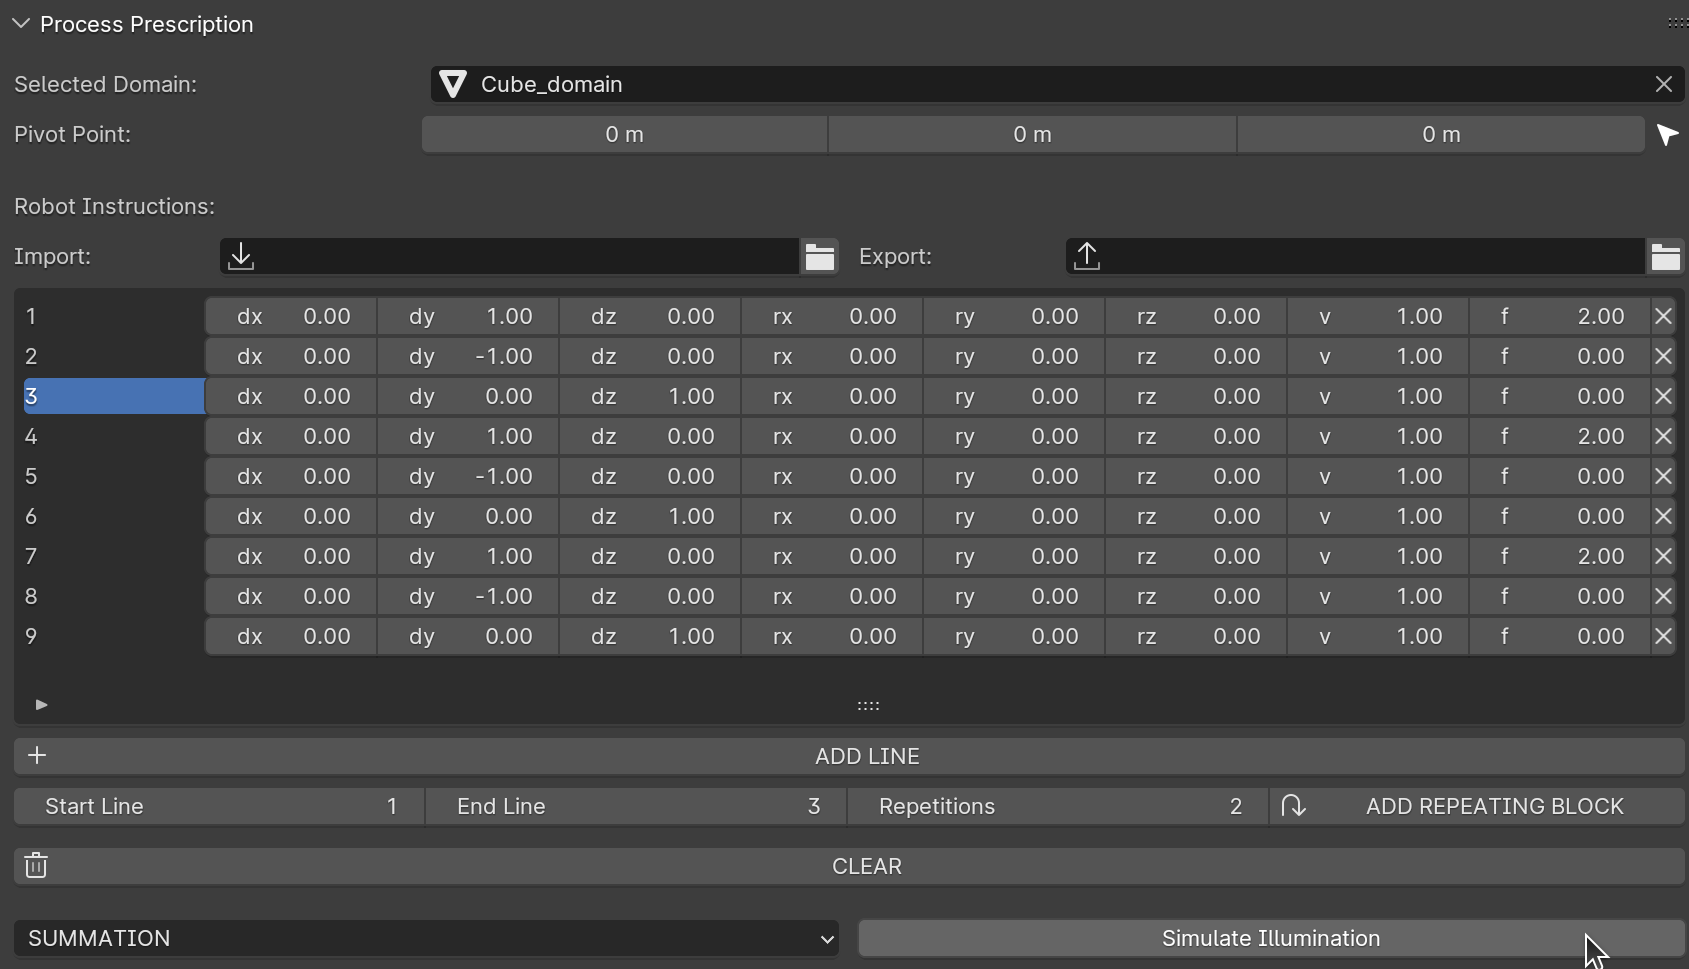
Select Simulation Type
Before executing the simulation, you can choose the type of illumination calculation. The panel offers two options:
SUMMATION:
Adds together all illumination values calculated at each point within the computational domain.
This method is useful when cumulative exposure needs to be evaluated, such as when analyzing total energy deposition over time.
MAXIMUM:
Finds the maximum illumination value at each point within the computational domain.
This option is ideal for cases where peak intensity is of primary interest, such as when identifying the most exposed regions.
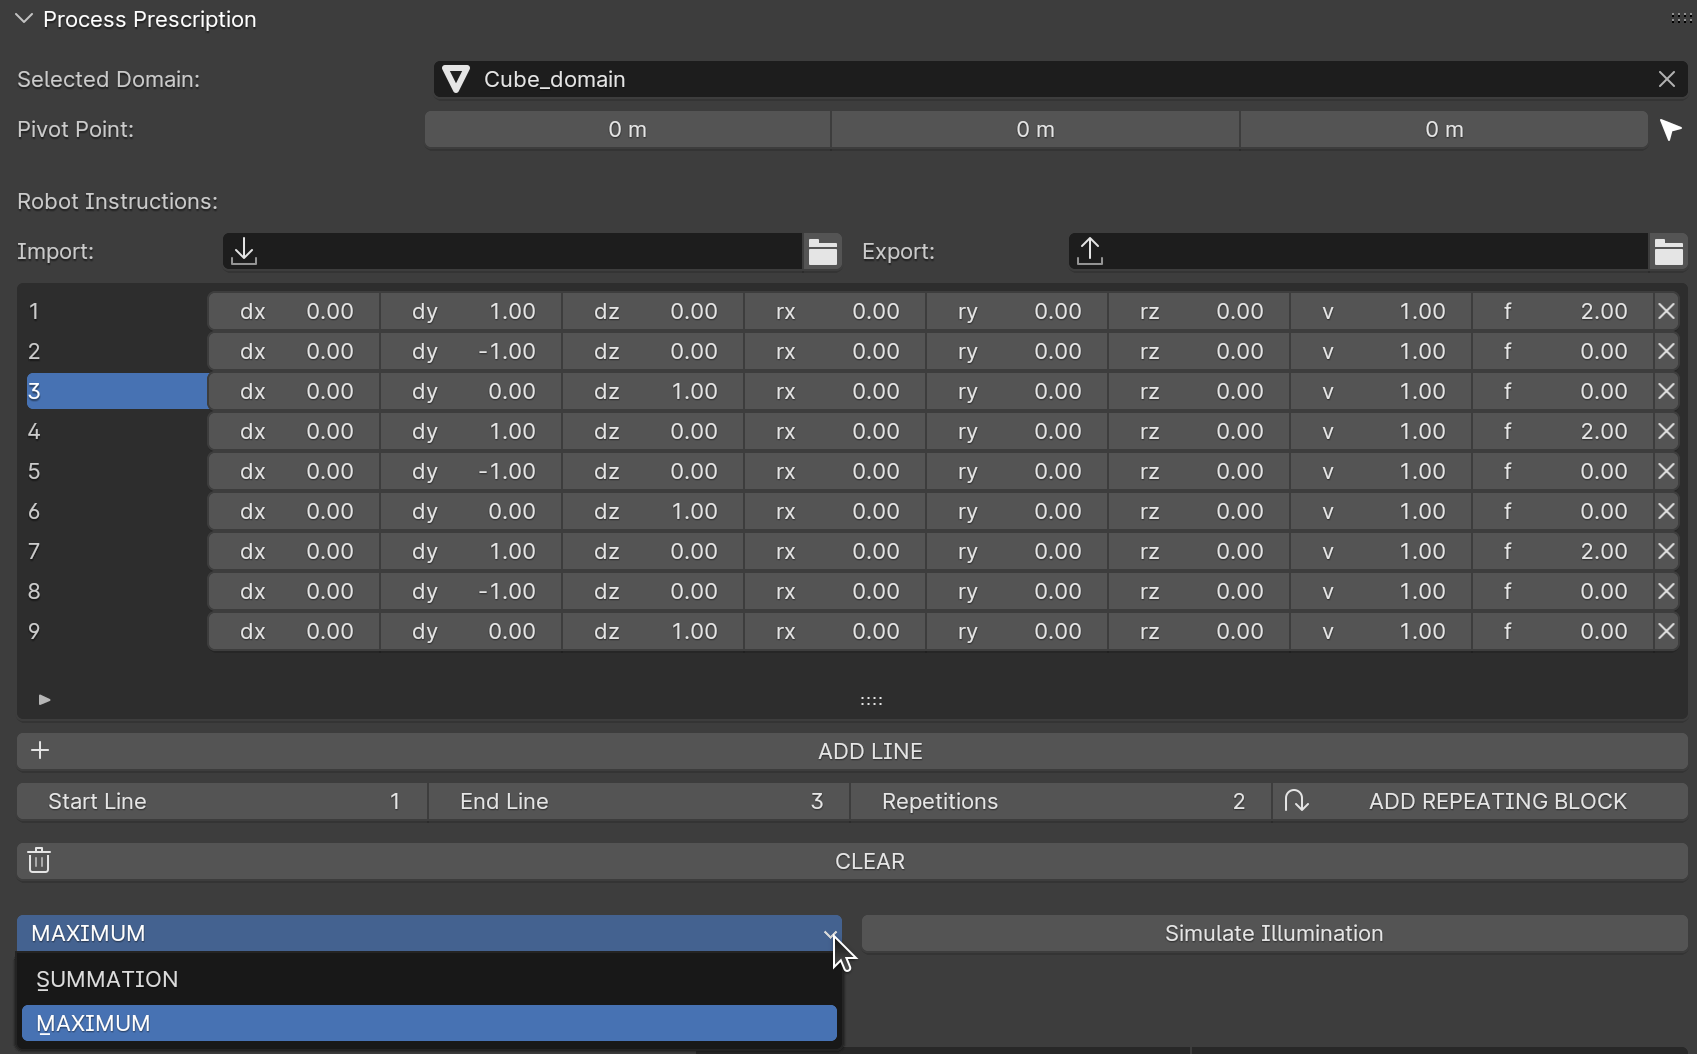
Selecting the simulation type: SUMMATION or MAXIMUM.
Once you’ve chosen the desired simulation type, you’re ready to execute the simulation.
Execute the Simulation
Executing the simulation.
Once all instructions are defined and the simulation type is selected, click the Simulate Illumination button to execute the illumination process on the domain.
The simulation animates the domain’s movement and displays the laser’s interaction based on the defined parameters.
Summary
The Process Prescription panel provides a powerful interface for defining and simulating complex laser illumination patterns. By combining transformation instructions, laser firing parameters, and repetition functionality, users can efficiently create highly customized simulations tailored to specific treatment scenarios.